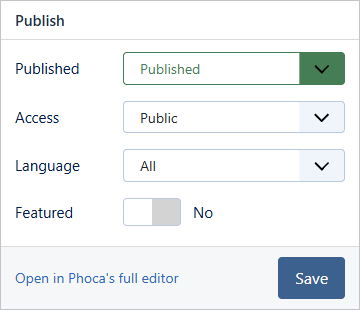
Publish: whether the product is shown, who can see it, its language and whether it is featured, with a Save button close at hand.
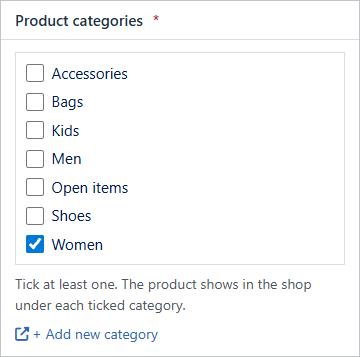
Product categories: tick at least one. The product shows in the shop under each ticked category. Add new category opens Phoca Cart's categories.
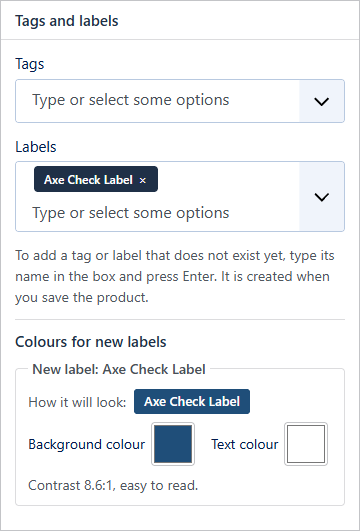
Tags and labels: pick existing ones from each list. With the Create tags and labels permission you can also type a name that does not exist yet and press Enter. It is created in Phoca Cart, the same way as on Phoca Cart's own Tags screen, when you save the product. If the name already exists (with any capitals), the existing one is used, so you never get two.
Each new label gets a row under Colours for new labels: a preview, a background colour and a text colour. The row shows the contrast between the two colours; at least 4.5:1 keeps the label easy for everyone to read. To change an existing label's colours later, use Components → Phoca Cart → Tags.
If the product cannot be saved (for example it has no category), no tag or label is created, and the names and colours you typed are still there when the page comes back.
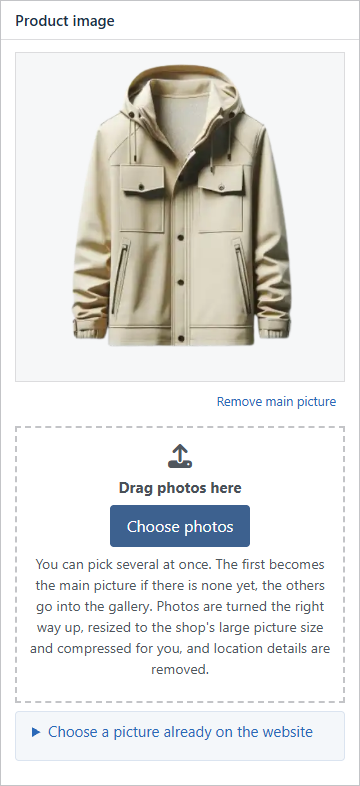
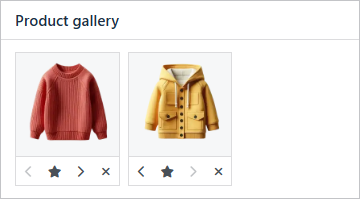
Pictures:
- Drag photos onto the picture box, or choose several at once. The first becomes the main picture if there is none; the rest go into the gallery. Progress shows photo by photo.
- Each photo is turned the right way up, shrunk to Phoca Cart's own large picture size (never enlarged), saved as JPEG (or PNG when it has see-through parts) within Phoca Cart's upload limit, with a WebP copy. Camera, date and location details are removed. Phoca Cart's thumbnails are made straight away.
- In the gallery, drag to reorder, or use the buttons under each picture: move earlier, make main, move later, remove.
- On a phone or tablet, Take a photo opens the camera; the photo is made web-ready in the same way.
- Choose a picture already on the website opens Phoca Cart's own picture picker in a pop-up: open a folder, then click the picture.
- Nothing is attached to the product until you save.
Pictures for choices and specifications
Each option choice (Options tab) and each specification (Specifications tab) has a small picture control: the picture, or an empty frame, and a few buttons. Hold the pointer over a button to see its full name.
| Button | What it does |
|---|---|
| Upload (arrow) | Choose a photo on your computer. It is made web-ready exactly like the product pictures: turned the right way up, resized, details removed, WebP copy and thumbnails. |
| Choose (folder) | Pick a picture already on the website, in Phoca Cart's own picture picker. |
| Take a photo (camera) | Phones and tablets only: opens the camera; the photo is made web-ready in the same way. On a computer the button is left out, because there it would only open the same file chooser as Upload. |
| Remove (×) | Takes the picture off this choice or specification. Shown only when there is a picture. |
Use Upload or Take a photo for new photos. Phoca Cart's picker pop-up also has its own upload area, but photos uploaded there are not made web-ready. Save the product to keep the pictures.